Custom splash form
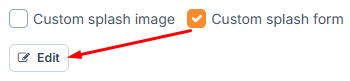
To create your custom splash form, select the Custom splash form option in Guide properties under Splash screen section.
![]()
Once the option is selected, you can start creating/editing the splash form by clicking on the Edit button that appears.
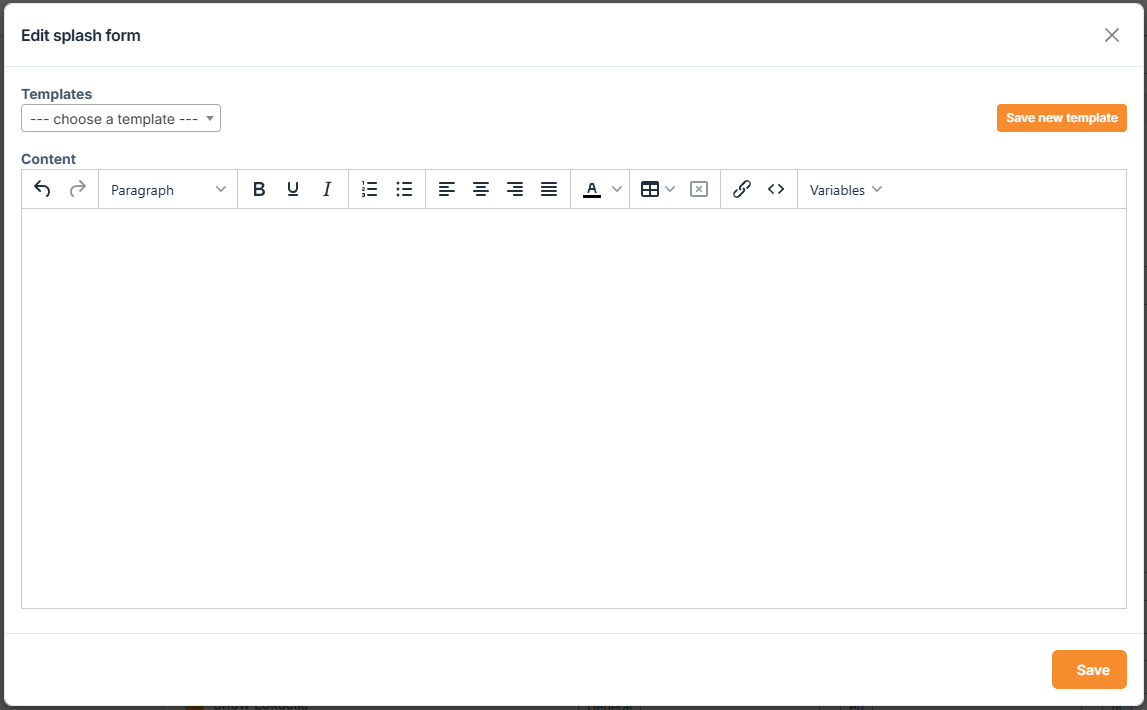
If this is the first time creating, you will start with a blank form. You can add text, tables, links, and variables.
Variables
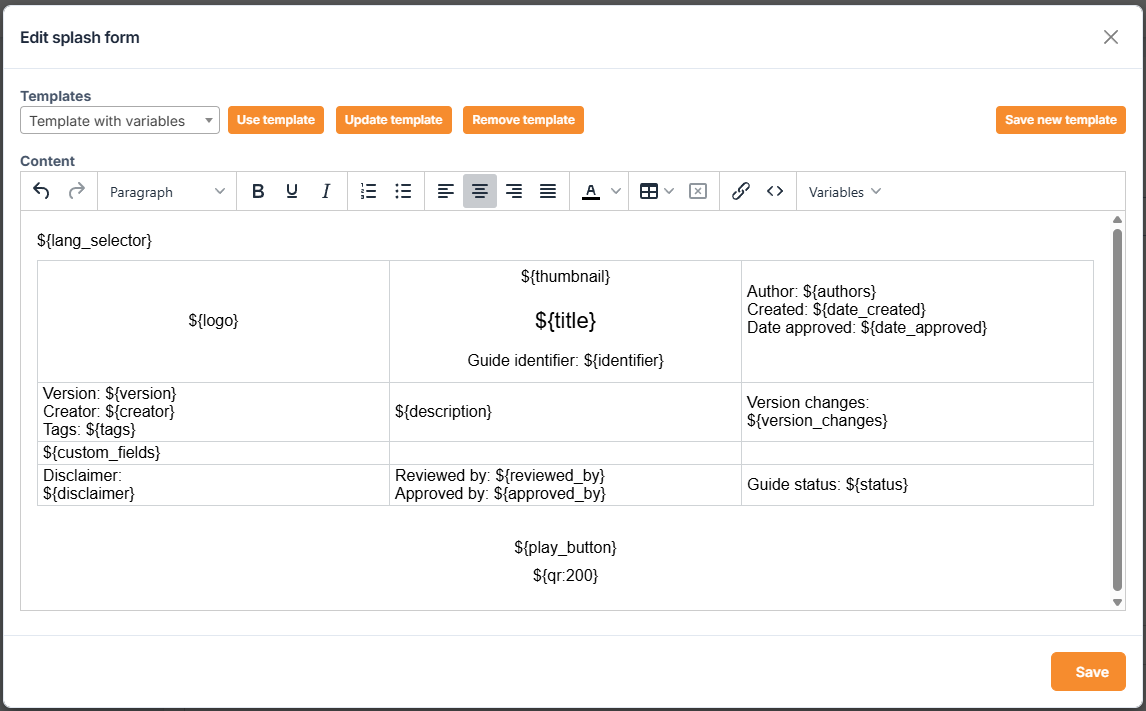
Insert all guide information you need, such as guide title, QR code, custom fields, etc. Variables QR code and Logo can also have a width parameter. E.g.: ${logo:50} means the logo image will be 50px wide.
Save template
When you are happy with how the form looks, you can save a template and reuse it on other guides. Click on the Save new template button and give it a name. Once you save it, it will be listed in the dropdown.
You can also then update and remove the template.
Your custom splash form could look something like this
Save the splash form as a PDF
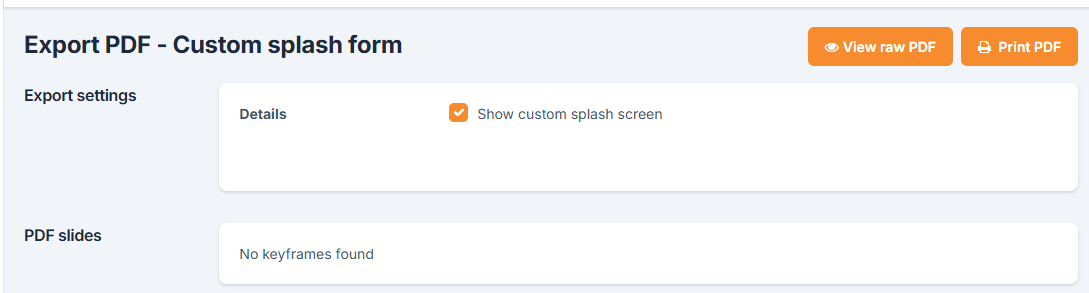
If you also need the form in PDF format, you can export it via Export PDF from the guide project screen.
If there are no other keyframes in the guide, your Export PDF screen will look like this. So just click on the Print PDF button in the upper right corner.