Create clips
If you need to cut your uploaded video from the classic media library into smaller clips, you can use the Video Clipper and cut the video into shorter clips by clicking on the “Create clips” button.

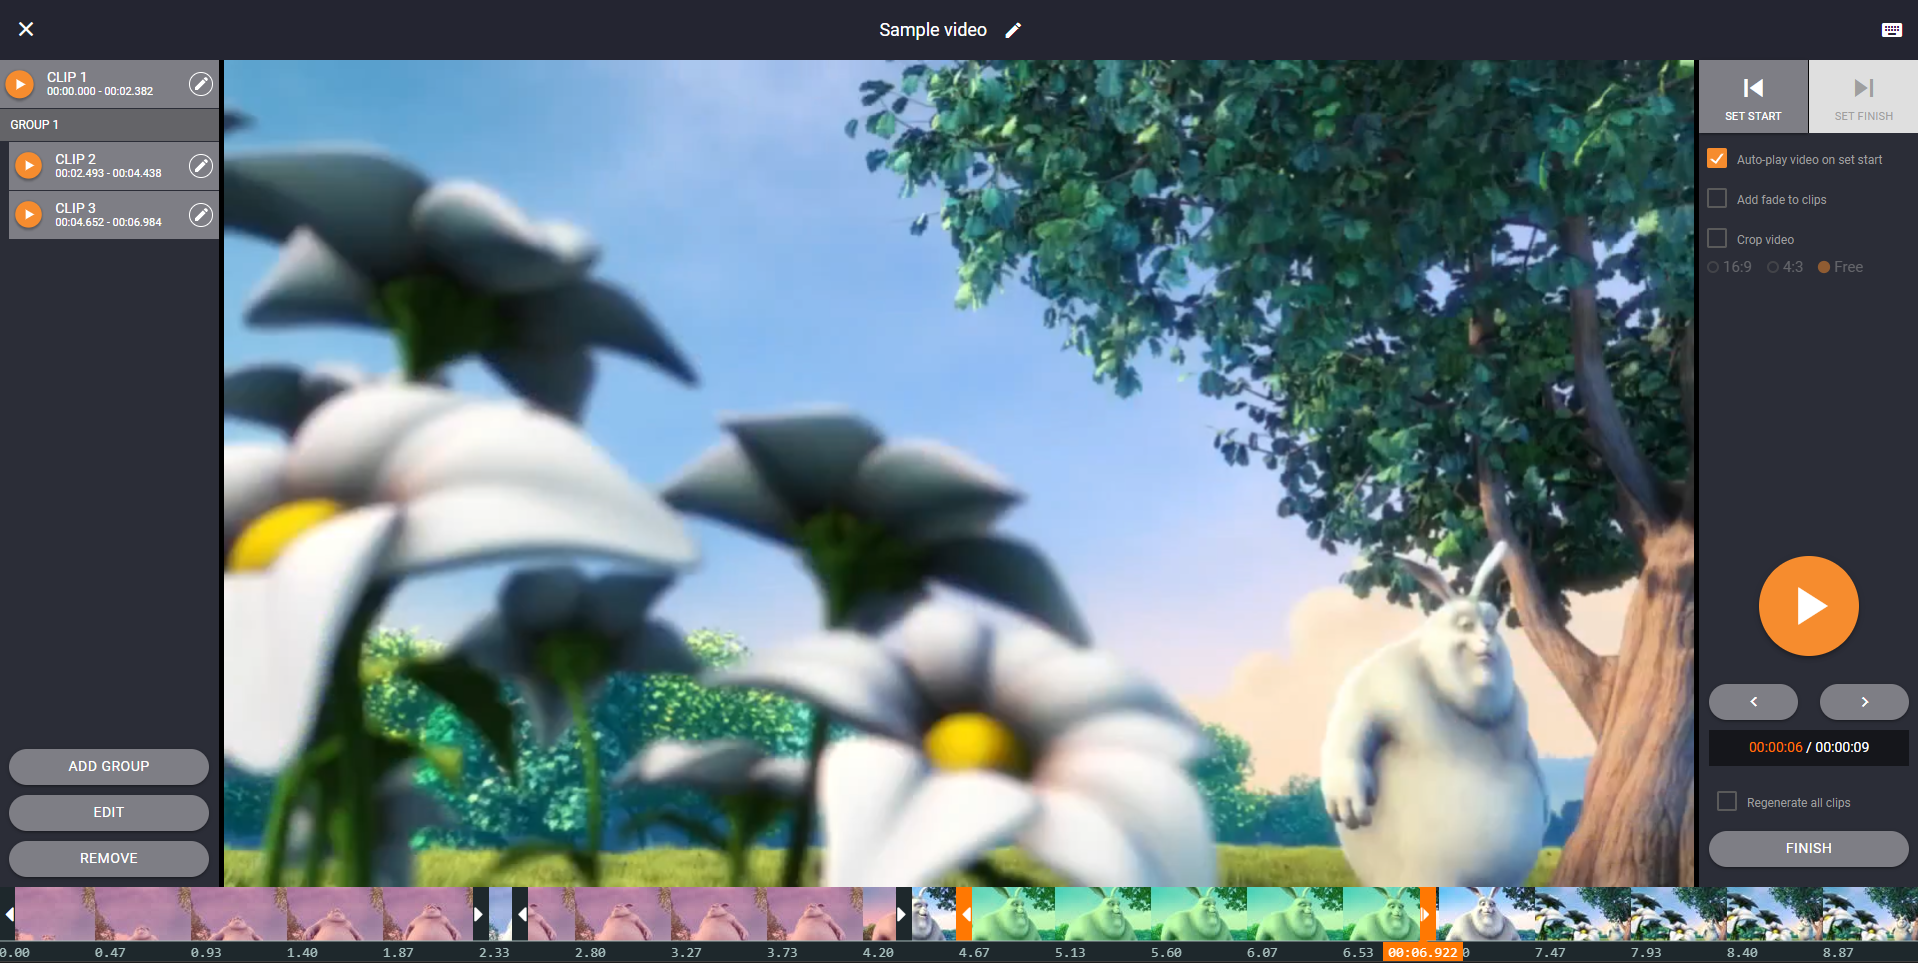
Clipper interface
Here you can create short video clips as simple as pressing the “Set start” and “Set finish” buttons to define a clip. The created clip will appear on the left menu as well as on the timeline.
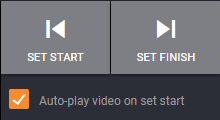
Create a clip
To start defining a clip, click on the SET START button on the right of the clipper. To finish defining a clip, click on the SET FINISH. When the Auto-play is on, the video will automatically play once you click on the SET START. If this option is disabled, the video will not start playing and you can manually move the end of the clip on the timeline.
List of clips
Once you define a start and end of a clip, it will appear in the list on the left side of the clipper. Then you can:
- play a clip from start to end by clicking on a Play icon.
- edit a clip by clicking on the Pencil icon.

(Re)Generate clips
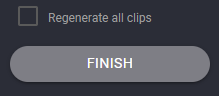
Once you create the clips, you need to generate them to use them in your video hotspots, by clicking on the FINISH button at the bottom right.
If you have already done generating your clips but need to add some additional settings later (e.g. add fade to clips), select Regenerate all clips before you click on the Finish button so you generate all the clips with the new settings.
View and use your clips
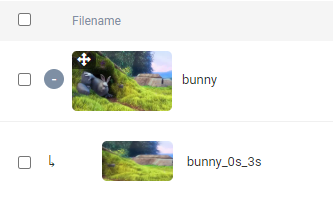
Once the clipper finishes the trimming, you will be redirected back to the media library. By the video, you will see a Plus icon with which you can expand the video to see the clips if you click on it.
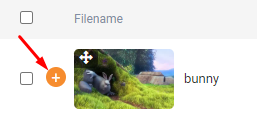
The clips will show nested under the original video.
You can use the clips in your video hotspots when you create or edit your stories.